Notebook Covers
For the individual laser project I have to do complete 2 assignments. The first of the 2 is the notebook covers. The covers will be made out of matboard, and the designs made in Illustrator will be cut our and engraved onto the matboard. The notebook covers will be cut out and engraved on the laser, and designed in Illustrator.
Pre-work from Designer Notebook
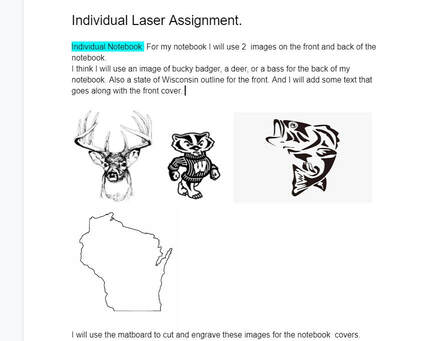
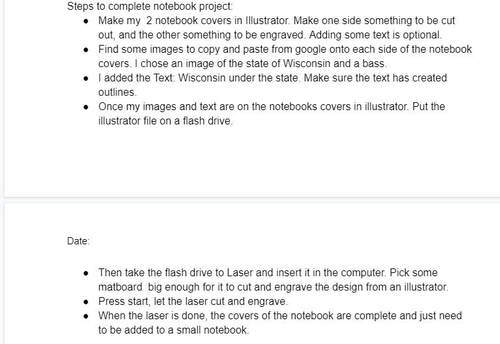
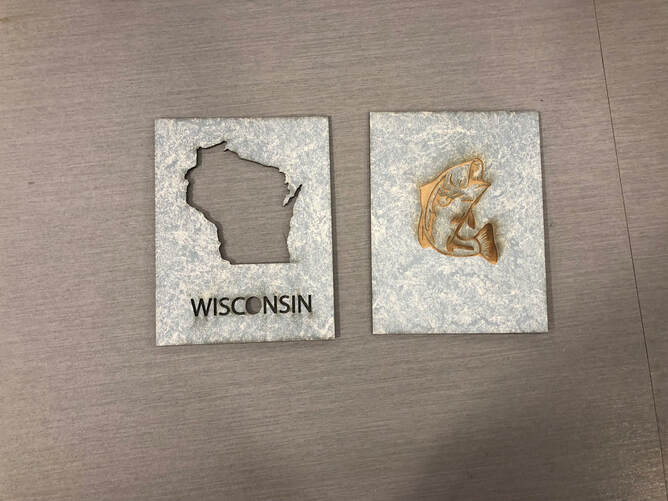
These two images are my thoughts about my notebook covers. This was my original thoughts about images on the covers, and text I would put on them. Also the basic Idea of the step by step process I was going to do, to complete this assignment. The design of the notebook covers was to have the state of Wisconsin cut out on the front, and either a bass, buck or Bucky badger engraved on the back.
|
|
How I Completed the 1st Assignment
|
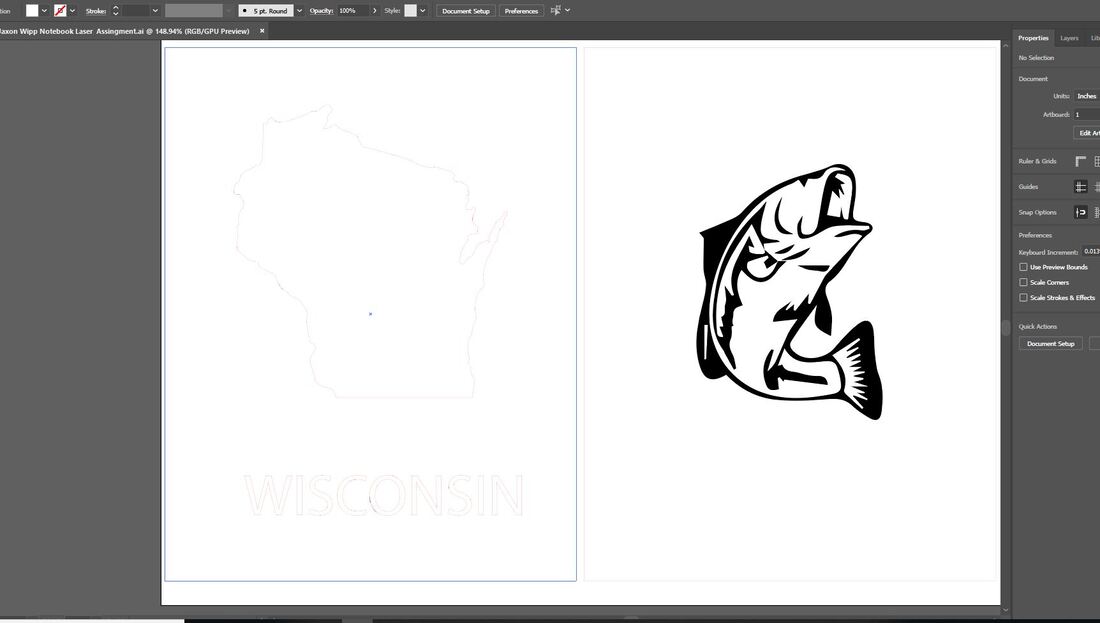
My Ideas have to be created in Illustrator. So I made an illustrator file with an height of 6" and 9" wide. This way it will fit both covers which need to be 4.25x5.5" in size. I then put in my images for my design. On the front I made the state of Wisconsin cut out with a cut process. I made the outlines red to the laser can read it and know what to cut out, and I made the stroke 0.0001. Then I added some text that says Wisconsin and I also cut this out. On the right side I put an image of a bass. This will be engraved. Since it is black and the outlines are not red the image will be engraved and not cut out.
|
|
|
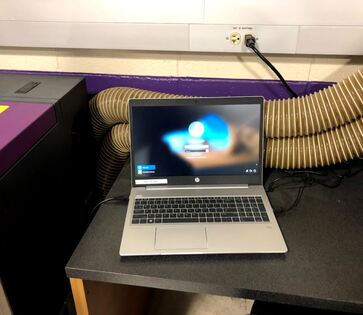
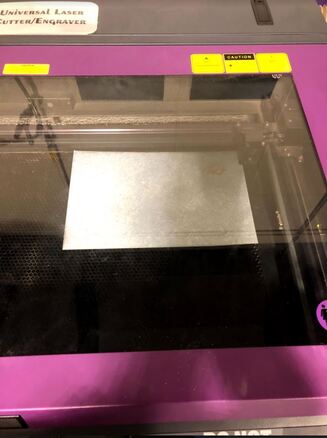
After creating the design for the covers in Illustrator, I put the Illustrator file on my flash drive, and took it to the computer at the laser. This Image shows the laptop we all use by the laser. The file goes on the computer, and then it can be engraved and cut out by the laser after putting the file in the UCP. I also choose some matboard and put it in the laser, so the laser has something to work on.
|
|
|
Now the laser is creating the design I made in Illustrator. Its cutting out the front of the notebook, and engraving the back. This image shows the laser in progress.
|
|
Now the notebook covers are complete. This is the final image of my notebook covers.
Water Bottle
The second of the projects is the water bottle. The water bottle is given to me by the school, and I have to create an illustrator file to make a design to be engraved on the water bottle.
Pre-work from Designer Notebook.
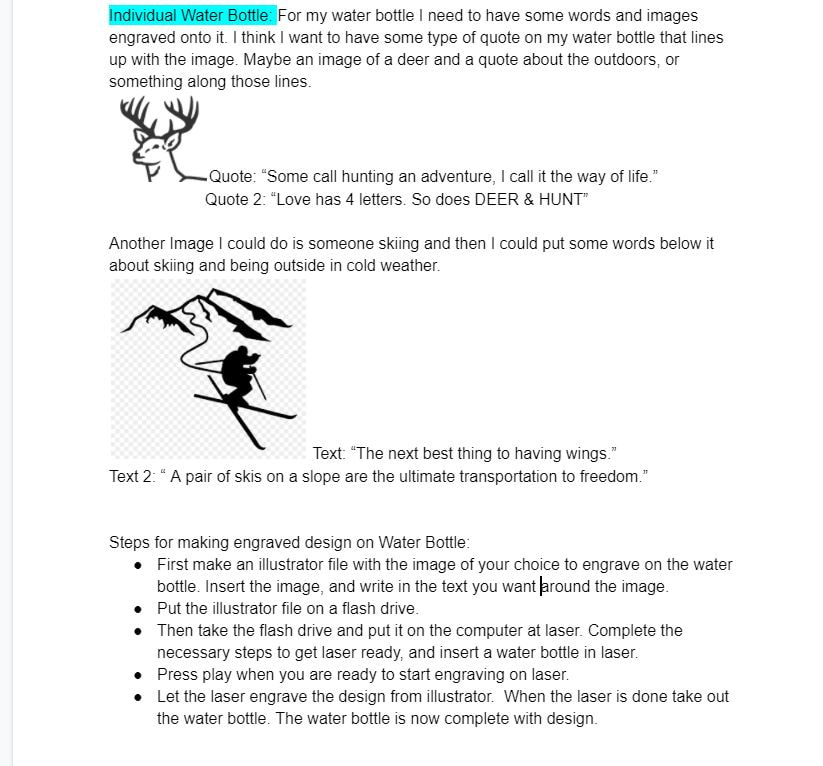
This was my starting thoughts for engraving my water bottle. I had some ideas I could use for the engraving process. I thought I would take an image and then put a quote that would go along with the image. I also wrote down a basic step by step process to complete this part of the assignment.
How I Completed the 2nd Assignment
|
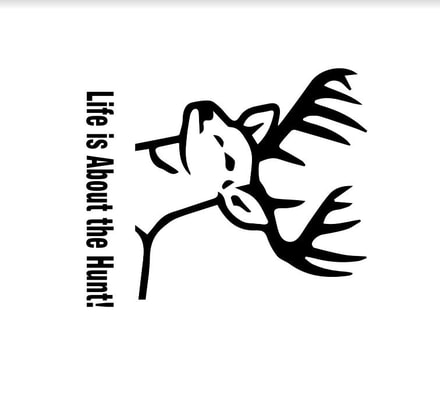
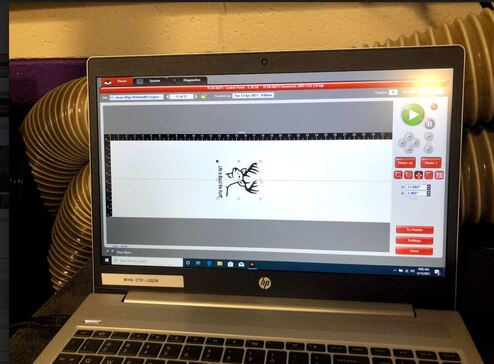
I put my ideas into illustrator, and I ended up making a deer with text saying "Life is About the Hunt!" I made an illustrator file, that allows the image and text to be engraved, and I created it in a 10" x 10" workspace. Once I had the design complete I had to rotate it so it would engrave the right way on the water bottle.
|
|
Now just like before I take the illustrator file and put it on my flash drive. Then I take it to the computer by the laser and put it in the UCP. With my design from illustrator in the UCP the laser can start engraving the water bottle. I choose to use a red water bottle to engrave.
|

|
This is the laser in progress engraving my water bottle. We use a different base to put the water bottle in, so when the laser is engraving the water bottle slowly turns to create the design. The red water bottle I choose after engraving is going to have a hint of pink instead of silver.
|
The water bottle is complete! This is the final image of my design engraved on my water bottle. It looks amazing!

Final Thoughts
After the first of my rotation assignment, I feel like I got the hardest part done first. I had 2 projects in this rotation compared to the other groups that only had 1 project. I learned how to use my time well this unit. Having a tight deadline of 4 classes to get 2 projects and a website don't doesn't seem like a lot of time. But I kept working every day and used all my time wisely and I got it all done. Even if something seems like it will be a lot of work, if you stay persistent you will get it done. Overall this was a fun rotation and I made some cool designs on my notebook and water bottle.
